Documentation
API REFERENCES
Get to know our guide and examples for integrating Picker into your system
See Guide
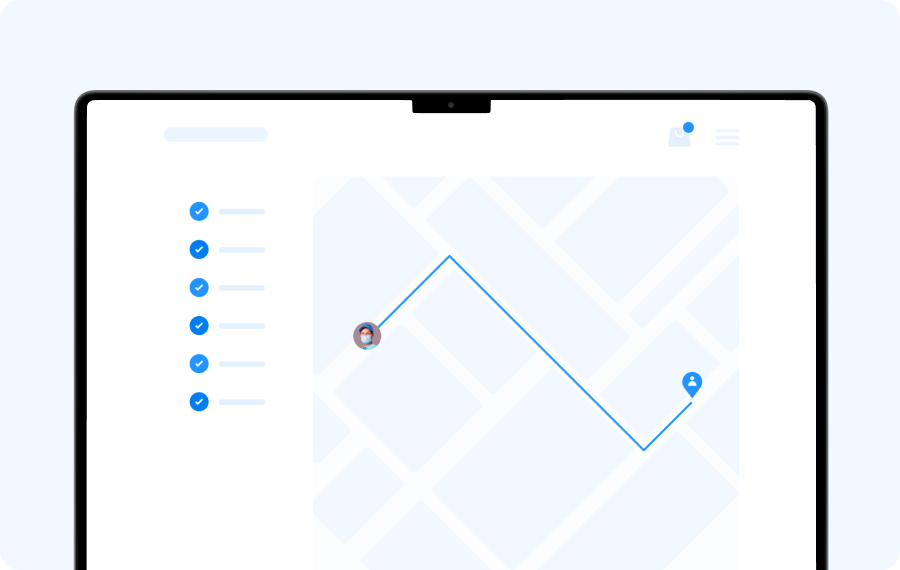
API Delivery
Connect our logistics platform to your
system for making your deliveries.
system for making your deliveries.
Ecommerce
App
POS
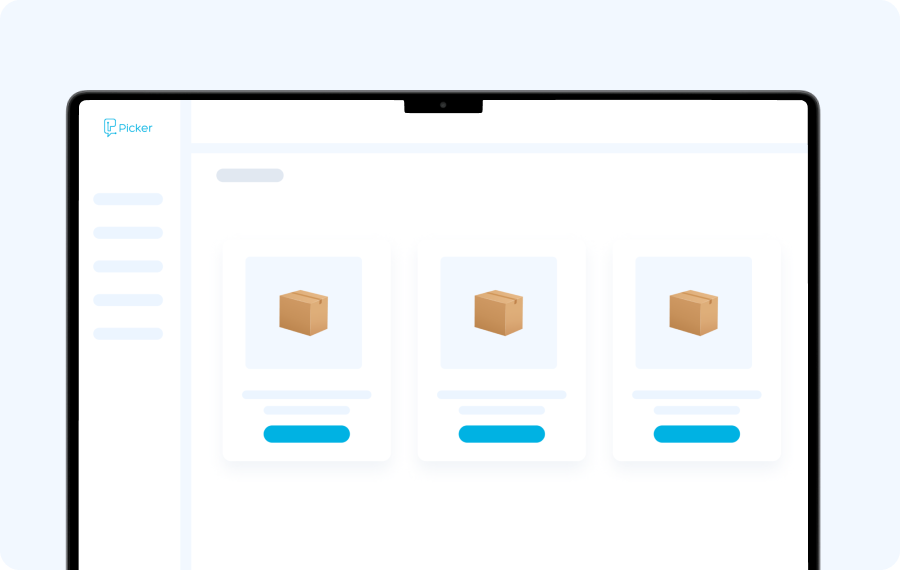
Control Dashboard
Connect our logistics platform to your
system for making your deliveries.
system for making your deliveries.
Ecommerce
App
POS
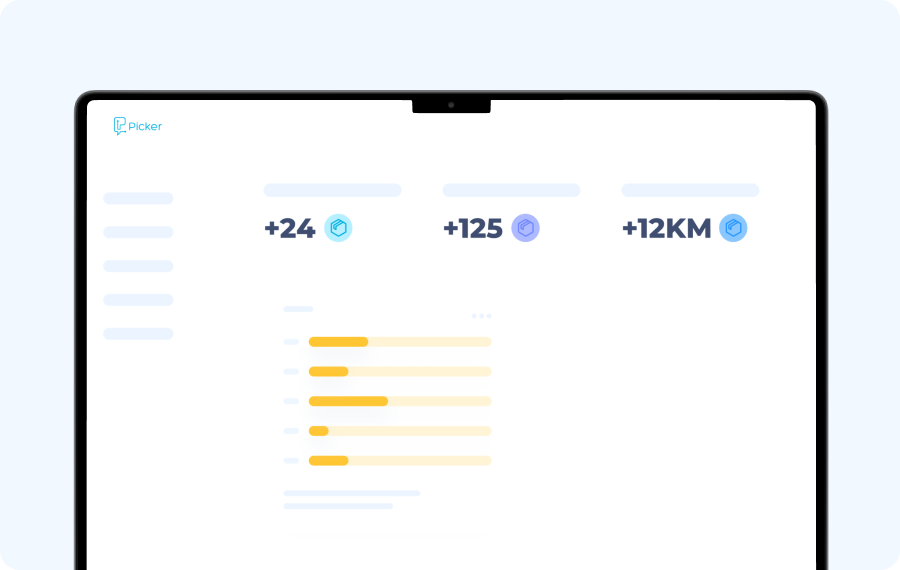
Analytics Dashboard
Connect our logistics platform to your
system for making your deliveries.
system for making your deliveries.
Ecommerce
App
POS


.svg)


